
- 33%


Mauvelous
Regular price
$14.99
Sale price
$9.99
Unit price
/ per
In stock
people are viewing this right now
sold in last hours
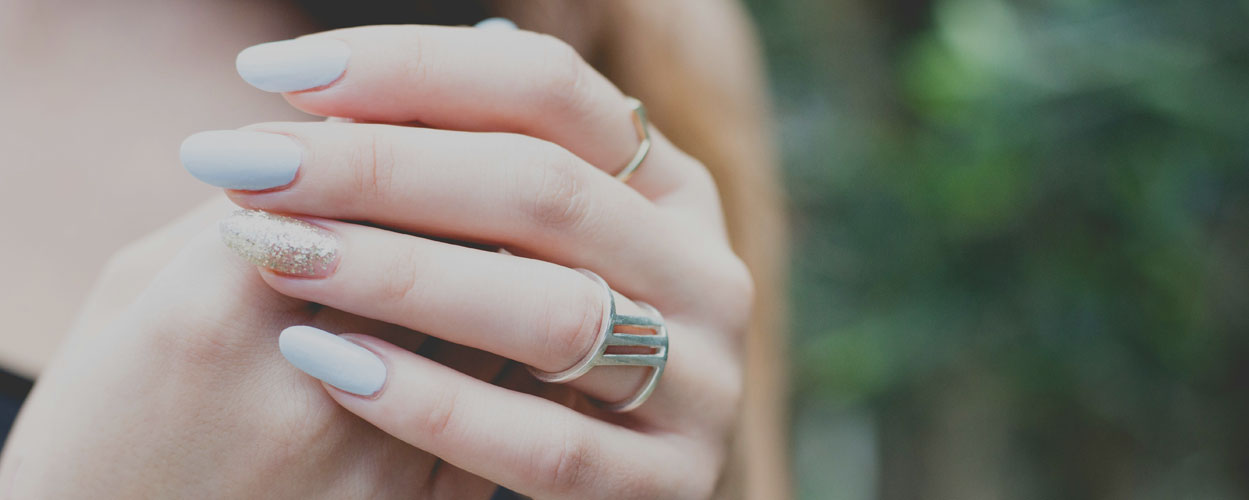
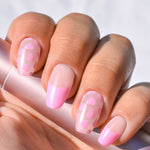
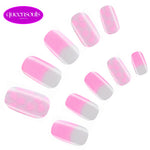
Product Details
Vegan & Cruelty-Free: Made with ethical, animal-friendly ingredients, ensuring a guilt-free beauty experience.
14-Day Durability: Offers salon-level strength that lasts up to two weeks.
Effortless Application: Get saloon quality nails quickly and easily.
Chip & Scratch Resistant: Maintains a flawless, durable finish.
14-Day Durability: Offers salon-level strength that lasts up to two weeks.
Effortless Application: Get saloon quality nails quickly and easily.
Chip & Scratch Resistant: Maintains a flawless, durable finish.
Shipping Policy
Standard shipping within the United States is FREE for all orders of $15.29 or more. Orders are delivered within 3 to 5 days after being placed. For orders under $15.29, standard shipping is a flat fee of $4.99.
Return and Exchange
Our return policy allows you to return items within 30 days of purchase. For a return to be valid, the product must be in its original condition—unused, unworn, with tags attached, and in the original packaging.
Application
Step 1: Preparation
Begin by washing your nails thoroughly with soap and water. Shape your nails and gently push back the cuticles. Use the provided Prep Pad to remove any oils or residue from the nail surface. Ensure your nails are completely dry before proceeding.
Step 2: Choose the Right Size
Hold the nail strip over your nail to determine the correct size. If your nail size falls between two options, opt for the smaller one.
Step 3: Apply the Strip
Carefully peel the strip from the sheet, starting from the edge. Position it at the center of your nail, aligning it with the cuticle line and pressing outward. For the best results, ensure the strip is placed slightly above the cuticle line, avoiding contact with the skin or cuticles.
Step 4:Remove the Protective Layer
Peel off the protective film from the applied strip.
Step 5: Secure the Strip
Press down firmly on the strip, starting from the center and moving toward the sides to ensure proper adhesion.
Step 6: Trim Excess
Using nail scissors or clippers, trim the strip so it aligns perfectly with the edge of your nail.
Step 7: Cure Under LED Light
Place your nails under an LED light and cure for 60 to 120 seconds.
Step 8: File the Edges
Hold the nail file horizontally along the natural curve of your nail. In one smooth motion, file the free edge to refine the shape and finish.
